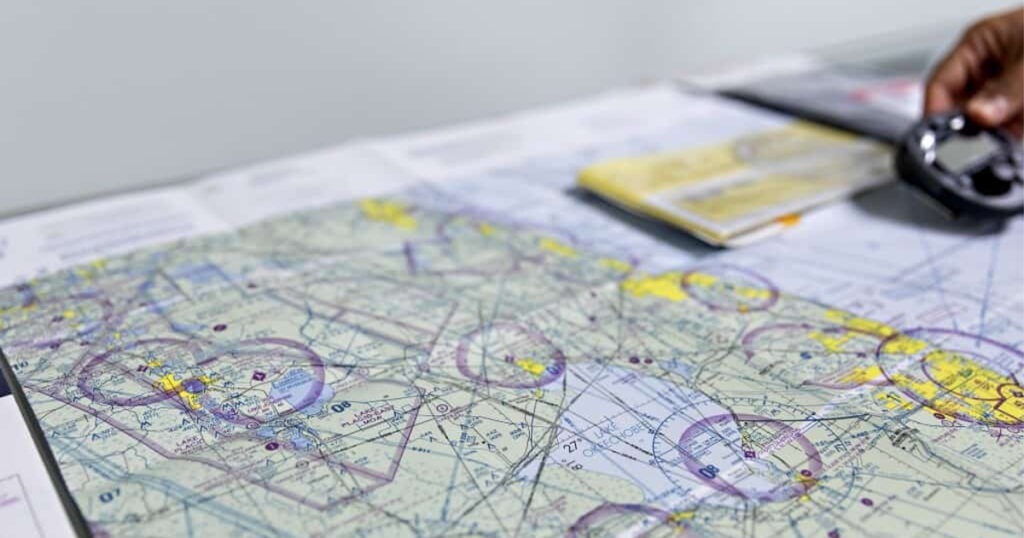
While technological advancements have given pilots plenty of tools to chart their course across the skies, it is important to understand all that is happening behind the scenes when calculating a heading for travel. In fact, pilots in training must show an understanding of how to complete a navigation log and utilize navigational skills such as pilotage and dead reckoning. Today, we’re looking at the basics of completing a flight navigation log and the many factors that can impact aircraft performance and heading.
Understanding Sectional Charts
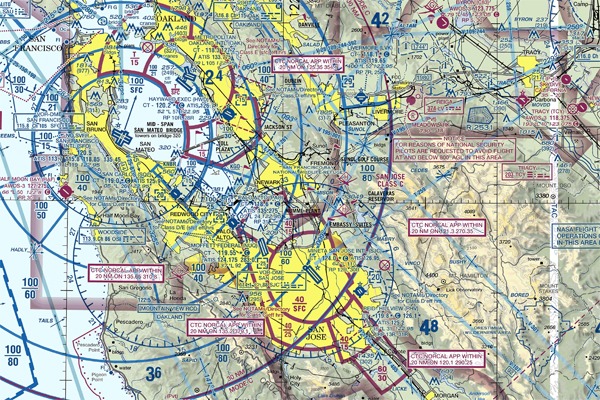
Pilots often use aeronautical sectional charts to map out visual cues that can help them determine that they are still on the correct course – a navigational skill known as pilotage. Highways, rivers, towers, and large buildings can all serve as special checkpoints that pilots can use to ensure that they are still on the right path to their destination.
At the same time, sectional charts are scale, allowing pilots to take measurements so that they can use calculations to determine their speed, time en route, and fuel burn, further validating the checkpoints they’ve chosen – a navigational skill we call dead reckoning.
When radios and GPS fail, having a trusty sectional chart is your ticket to a safer flight!

Plotting Your Course
The first step in flight planning is to plot your course. However, this may not be as easy as drawing a line from point A to point B. Pilots must consider terrain, weather, and airspace – factors which may keep them from flying direct to their destination.
Once a course has been determined, pilots can then use their sectional map to determine visual checkpoints to aid them in navigating the skies above.

Determining Your Flight Heading
With a course drawn on the sectional chart, pilots use scaled plotters to determine the initial course heading (measured in degrees) to their destination. Plotters can vary in design, but typically begin with matching the protractor portion of the plotter to the angle of the course, then sliding the plotter to the nearest line of longitude to geat a reading on their course heading.

Correcting for Wind
There are plenty of variables that can affect aircraft performance. Temperature, pressure altitude, and other factors will ultimately determine a plane’s true airspeed (TAS) – something we’ll be sure to cover in a future post.
However, with TAS calculated, we can then account for crosswinds. Without taking wind and windspeed into consideration, pilots can easily and unintentionally deviate from their course heading. Checking weather reports for wind speed and direction for the planned flight altitude, pilots can then use a specialized E6B calculator to determine the wind correction angle (WCA), either adding or subtracting from their course heading. This provides aviators with their true course heading (TC), with the E6B also providing a calculated and corrected groundspeed.
Magnetic Variation
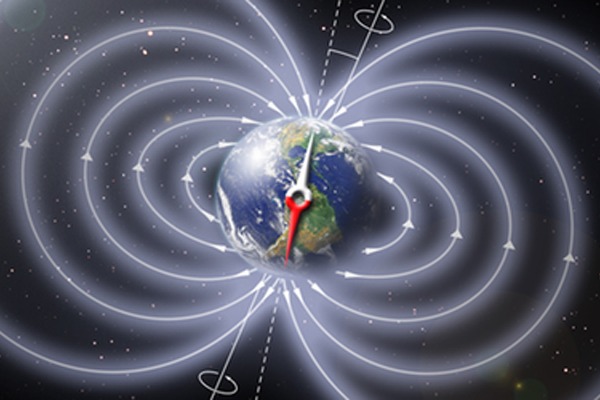
We’re not done yet! Now, pilots need to account for magnetic variation – the different between true north and magnetic north. True north refers to a fixed geographic location at the North Pole, the point on Earth’s axis of rotation. Magnetic north, to which the compass in an aircraft is aligned, is constantly shifting and is not aligned with true north.
On a sectional chart, special magenta, dashed lines – known as isogonic lines – can help us determine the amount of magnetic variation for a given region. Pilots must then determine if they subtract the published number of degrees or add them to their true course heading.
Here, it is helpful to remember “East is least, West is best.” So, for magnetic variation to the west, we need to add the listed number of degrees to our hearing. For easterly variations, we subtract. This will provide pilots with their true heading (TH).
Magnetic Deviation
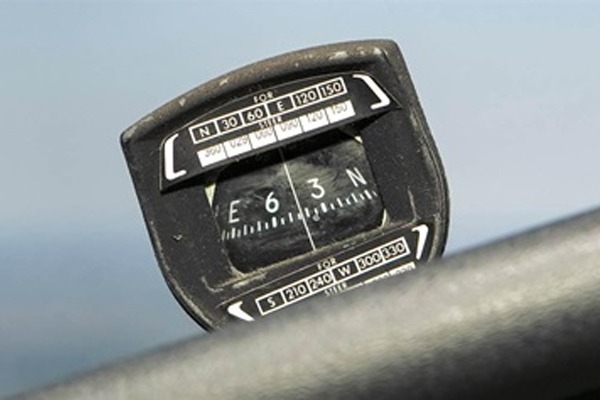
We’re on the home stretch! It’s important to understand that there are various things in the aircraft that can affect the compass. Instruments and radios, for example, can alter the magnetic field near the compass, resulting in what’s called magnetic deviation.
Aircraft mechanics and manufacturers can test for these variances and provide a correction card detailing how many degrees a particular heading may need to b adjusted based on this magnetic information.
With this final bit of information, pilots now have their final, corrected heading (CH).

Time, Distance, & Fuel Burned
With distances between checkpoints and groundspeed determined, pilots can now calculate the time to fly various portions of the course as well as the total amount of fuel burned.
Fuel consumption can vary depending on a number of factors, so pilots will need to calculate fuel used during taxi, departure, and their climb to altitude in addition to fuel burn rates at cruise. Before leaving the ground, a pilot should easily be able to determine if they have everything required to make the trip, or if they will need to make a stop along the way!
From here, it’s time to put the flight plan into action. Pilots will compare their actual flight times and course with what they’ve mapped out on their navigational log, looking for any discrepancies that may indicate that they are either off course or battling stronger winds. It’s an added layer of perception that ultimately helps aviators determine if they can arrive safely at their destination, or if any special action is needed.
Be on the lookout as we go into further detail for each step of the flight planning process, or check out our free flight navigation activity that you can easily use for practice or implement in the classroom!