
In this hands-on science lesson, students will engage in a simple engineering design investigation using paper airplanes. They will fold planes from provided templates, test flight performance, make purposeful design changes (wing shape and weight), and observe their effects. Students will measure and record flight distance, chart their findings, and reflect on how changes influenced outcomes. The activity emphasizes the scientific method, data collection, and principles of aerodynamics in an age-appropriate, engaging way.

Learning Targets & Objectives
In the completion of this lesson, students should be able to:
- Follow a process to design and test a paper airplane.
- Observe and describe how changes affect how an airplane flies.
- Record and graph results to compare the effects of various modifications.
- Ask and answer questions about how to improve a design.

Student Baseline Knowledge & Skills
Students should:
- Understand basic concepts of measurement (inches/centimeters).
- Be familiar with data recording (charts or tables).
- Have experience folding paper and following step-by-step directions.
- Know basic safety and behavior expectations for throwing objects in the classroom/hallway.

Formative Assessment
- Observation of student participation and use of scientific thinking.
- Completion of DreamFlight's "Flight Engineer" worksheet.
- Final bar or line graph showing results from different flight tests.
- Classroom discussion concerning additional alterations for potential design improvements.
Materials & Resources
- Paper Airplane Folding Templates
- DreamFlight's "Flight Engineer" Worksheet
- DreamFlight's "Flight Engineering" Video
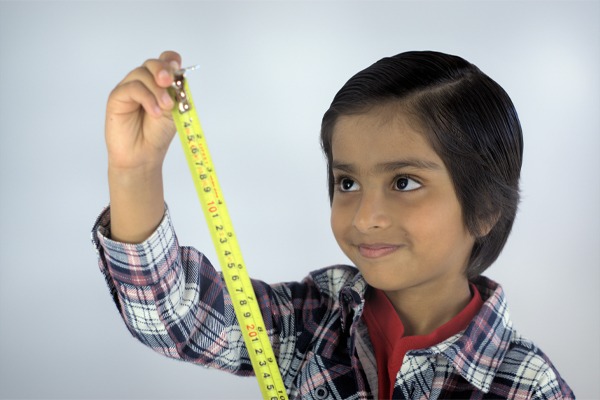
- Measuring Tapes and Masking Tape to Mark Distances
- Small Binder or Paper Clips to Act as Weights
- Colored Pencils or Markers
- Clipboards (Optional)

Lesson Procedure
- Engage/Introduction (5-10 Minutes)
- Ask: “What do you think makes an airplane fly far?”
- Briefly explain that today’s lesson is about testing how changing a design changes the flight characteristics of an aircraft.
- Show DreamFlight’s “Flight Engineering” video, which introduces vocabulary (lift, weight, thrust, drag) and aircraft design characteristics.
- Build Your Base Plane (10-15 Minutes)
- Provide a selection of 2-3 paper airplane folding patterns.
- Students will choose one and fold carefully.
- Have students practice throwing and measuring results in a designated flight zone (e.g., hallway, gymnasium).
- Phase 1: Initial Test Flight (15 Minutes)
- Students fly their base plane three times, measuring and recording results in the flight data section of the “Flight Engineer” worksheet.
- Following the test flights, have students complete the reflection questions for the initial phase on the worksheet.
- Phase 2: Wing Modification
- Have students bend or fold their wings up/down or curve their tips inward.
- Repeat three test flights while measuring and recording data.
- Students will complete the reflection questions for this respective phase on the worksheet.
- Phase 3: Add Weight (10-15 Minutes)
- Have students attach a small binder clip to the nose, central section, or tail of their paper airplane.
- Repeat three test flights while measuring and recording data.
- Have students complete the final set of reflection questions for their final flight test.
- Wrap-Up Discussion (15-20 Minutes)
- Combine results of similar plane models and lead classroom discussion regarding various modifications:
- What design flew the farthest?
- How did the wing shape affect the speed or performance of the airplane?
- How did weight change the flight characteristics of the airplane?
- Discuss: “What did you learn about design and testing?”
- What is one thing you learned?
- What is one thing you still wonder or are curious about?
- Combine results of similar plane models and lead classroom discussion regarding various modifications:
- Optional Extensions
- Have students redesign and retest a new paper airplane based on what they learned.
- Math connection: Have students compute average distances across all trials.
- Pair with the “Plotting the Skies: Story Mapping Fun” activity while making use of Andrea Beaty’s book, Rosie Revere, Engineer: A Picture Book.
Through this activity, you’ll not only be incorporating various components of mathematics and the scientific method – you’ll also help your students develop resiliency in encouraging them to work through problems and failures. Learning from our mistakes, making adjustments, and continuing to charge ahead is a valuable life skill at any age!